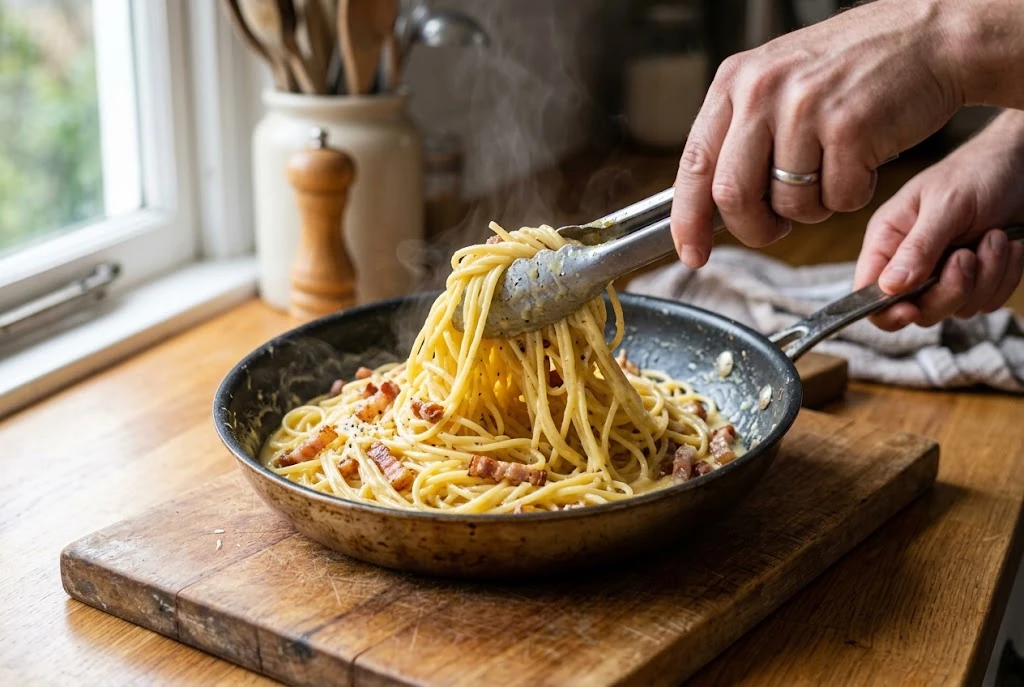
Tag: Beginner Recipes

Beginner recipes for cooking a dish from another country for the first time, with no special tools needed.

  • Portuguese Egg Tarts: Easy Air Fryer Recipe with 4 Ingredients

    Portuguese Egg Tarts is an absolute must-try when you travel in Portugal. In Lisbon, people queue for them. The pastry shatters when you bite in, the custard inside is barely set, and the top has dark, almost burnt spots that taste like caramel. They are called pastéis de nata, and once you have had a fresh one, the ones in supermarket boxes just don’t compare.

    The good news is that you don’t need a bakery oven, or even any oven. These Portugese egg tarts use shop-bought puff pastry and a custard made in one small saucepan. The air fryer does something a normal home oven struggles with: it blasts hot air straight onto the custard, which gives you those dark spots in about twelve minutes.
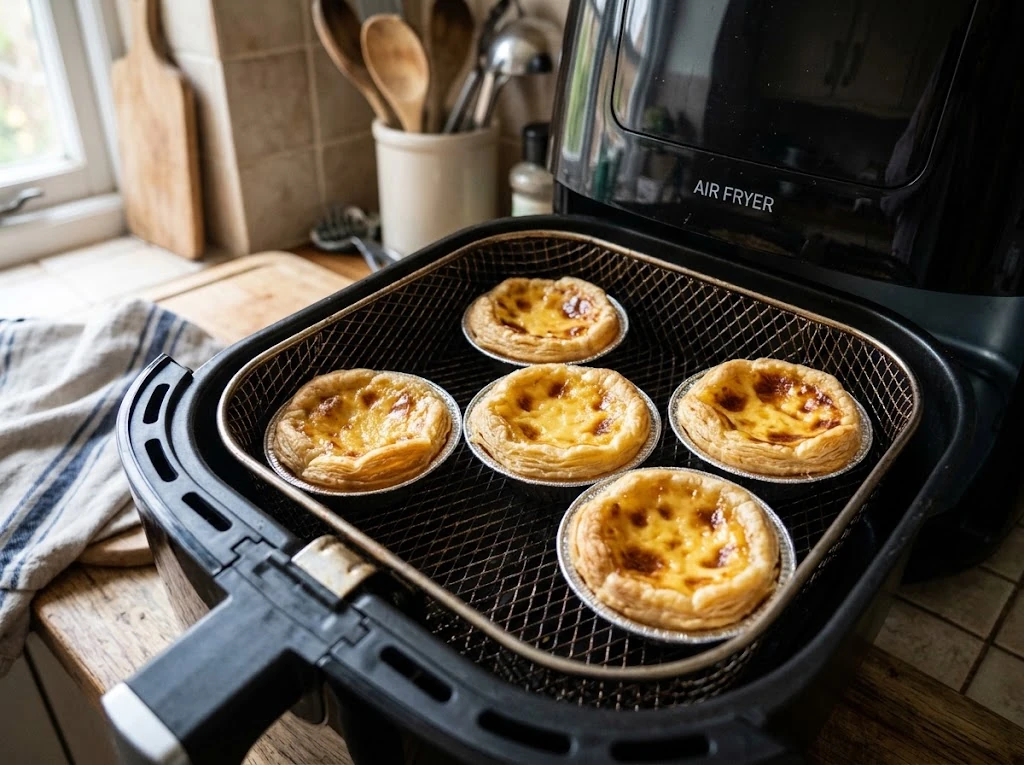
    Air fryer portuguese egg tarts in foil tins inside the air fryer basket

    Ingredients you really need

    Makes 6 tarts

    For the pastry

    • 1 roll of ready-rolled puff pastry, about 230 g, from the chilled section
    • 2 ml neutral oil for greasing the tins, or a few sprays from an oil spray bottle

    For the custard

    • 3 egg yolks (about 55 g)
    • 180 ml whole milk
    • 50 g sugar
    • 10 g cornflour (1 tablespoon)

    That is the whole list. The cornflour is the trick that makes this work at home. Portuguese bakeries thicken their custard with flour and a hot sugar syrup, which is fiddly and easy to get wrong. A spoonful of cornflour gives you the same silky, just-set result with none of the stress.

    Use whole milk, not semi-skimmed. The fat is what keeps the custard creamy instead of rubbery.
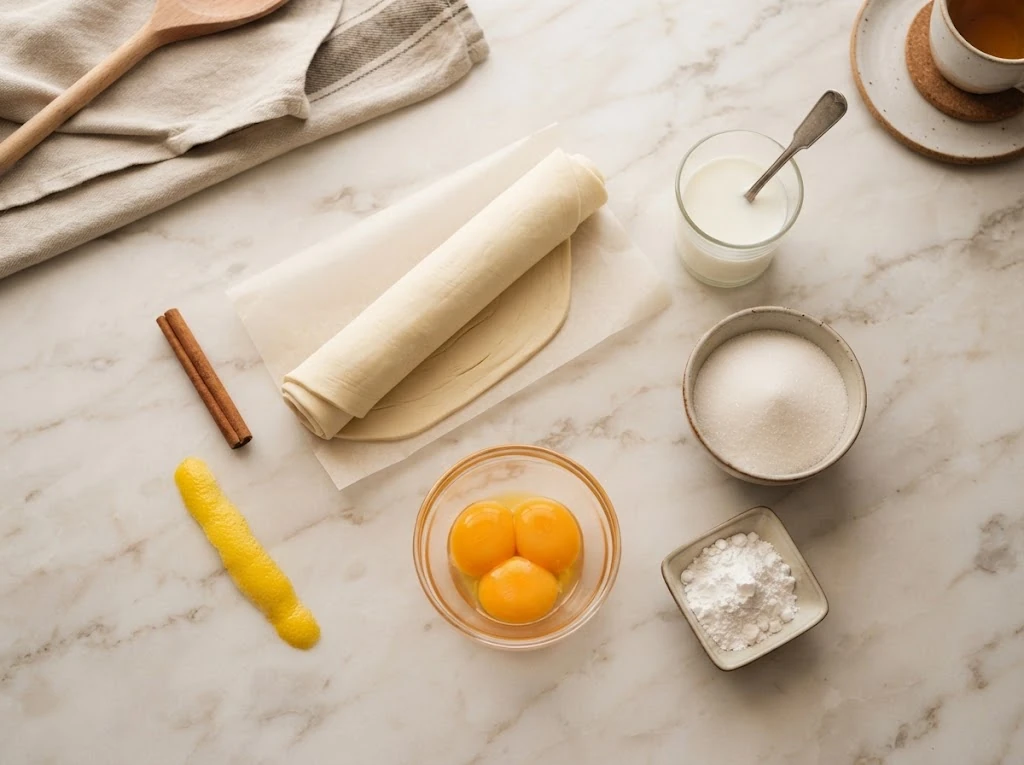
    Ingredients for air fryer portuguese  egg tarts with puff pastry

    Ingredients that are nice to have

    • Double cream, 60 ml, instead of 60 ml of the milk. It makes the custard richer and a little softer. With milk only, the tarts are lighter and still very good.
    • 1 cinnamon stick and 1 strip of lemon peel (about 5 cm). This is how Portuguese bakeries flavour their custard. Warm them in the milk for 5 minutes, then take them out before adding the cornflour. It adds a soft background perfume.
    • Ground cinnamon, 1 g (½ teaspoon), for dusting. In Lisbon it comes in a shaker on every café table.
    • Vanilla extract, 2 ml (½ teaspoon). Not traditional, but nice if you like a sweeter smell.

    Tools you really need

    • An air fryer. A basket of 4 litres or more fits six small tins at once. With a smaller one, bake in two rounds.
    • 6 small tart tins, about 7 cm wide. Disposable foil tart cups are cheap and fit well in an air fryer. Silicone muffin cups also work.
    • A small saucepan and a whisk.
    • A round cutter or a glass, about 9 cm wide, for cutting the pastry circles.

    Tools that are nice to have

    • A kitchen scale. There are only four ingredients in the custard, so the ratio decides everything. Too much milk and it never sets, too much cornflour and it turns into pudding.
    • An oil spray bottle. A thin, even layer in each tin means the tarts drop out cleanly, without a puddle of oil at the bottom making the pastry soggy.

    Both are on our list of 10 most underrated kitchen tools, and both earn their place for much more than one recipe.

    How to make Portuguese egg tarts

    1. Take the puff pastry out of the fridge 10 minutes before you start, so it unrolls without cracking.
    2. In the saucepan, whisk together 50 g sugar and 10 g cornflour. Slowly pour in 180 ml milk while whisking, so no lumps form.
    3. Put the pan on medium heat and keep whisking. After 3 to 4 minutes it will thicken to the texture of runny yogurt and just start to bubble. Take it off the heat straight away.
    4. Let it cool for 5 minutes, then whisk in the 3 egg yolks one at a time. If the milk is too hot, the yolks will scramble.
    5. Unroll the pastry and cut out 6 circles, 9 cm wide. Grease the tins lightly, press one circle into each, and push it up the sides so the edge sits just above the rim. Put them in the fridge for 10 minutes. Cold pastry puffs up better.
    6. Heat the air fryer to 200°C for 3 minutes. Fill each tart about three quarters full, around 45 g of custard each.
    7. Air fry at 200°C for 12 to 14 minutes. Check at 10 minutes. They are done when the pastry is deep golden and the custard has dark brown spots.
    8. Let them cool in the tins for 10 minutes. The custard keeps setting as it cools. Dust with cinnamon and eat them while still warm.
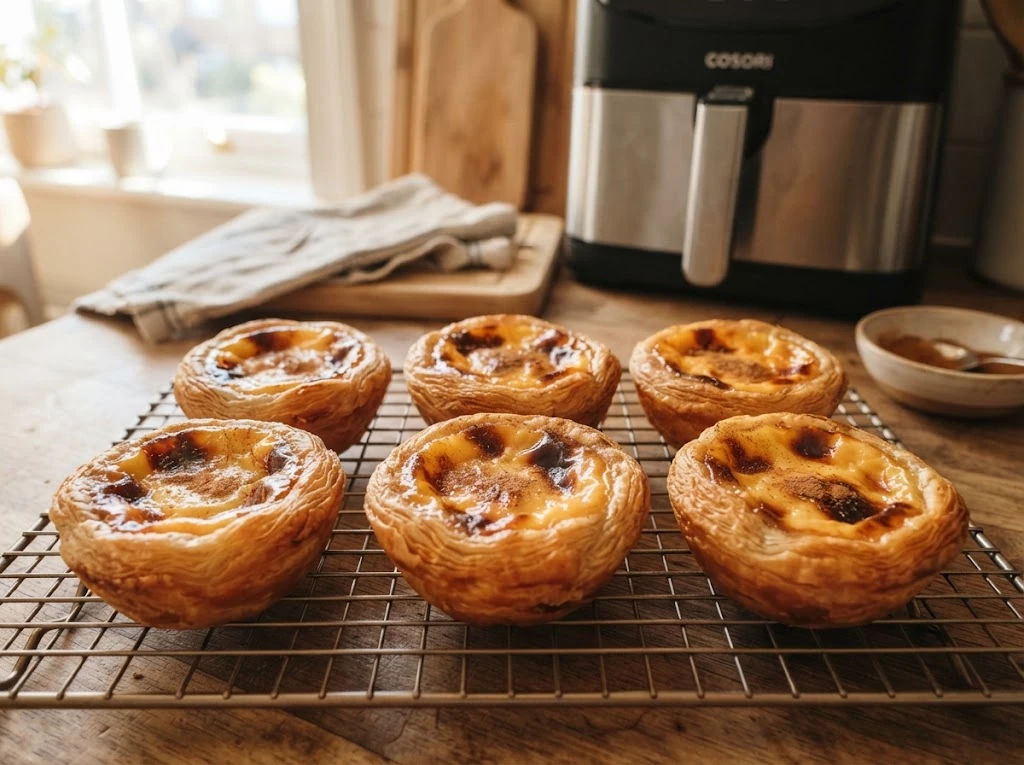
    Air fryer egg tarts with caramelised custard on a cooling rack

    Why Portuguese egg tarts get the dark spots

    Those dark spots are the whole point of a pastel de nata. Bakeries in Lisbon bake them in extremely hot ovens, far hotter than most home ovens can go, for only a few minutes. The top of the custard caramelises and blisters before the inside has time to overcook. You can read more about the history of the pastel de nata, which started in a monastery in Belém.

    A home oven at 220°C bakes gently from all sides, so by the time the top browns, the custard underneath is often dry. An air fryer is a small chamber with a strong fan right above the food. The hot air hits the top of the custard directly, which is exactly what makes the spots. That is why portuguese egg tarts often look more like the Lisbon original than oven-baked ones do.

    The same tart travelled far, by the way. Portuguese traders brought it to Macau, where it became the famous Macanese egg tart, and from there it spread across Hong Kong and southern China. It is about as borderless as a dessert gets.

    Cooking tips

    If the tops brown before the pastry is cooked, turn the air fryer down to 180°C and give them another 3 minutes. Every air fryer runs a little differently, so the first batch of portuguese egg tarts is always a test.

    If the custard overflows, the tins were too full. Three quarters is enough, because the custard puffs up while baking and sinks back as it cools.

    If the bottom is soggy, the pastry was too warm when it went in, or there was too much oil in the tin. Chill the pastry for the full 10 minutes and use only a thin layer of oil.

    If the custard is still runny after cooling, it did not thicken enough in step 3. Next time wait until you see the first bubbles before taking it off the heat.

    For more pastry layers, try the Lisbon method. Instead of cutting circles, roll the pastry sheet up tightly into a log, cut it into 2 cm slices, and press each slice into a tin with a wet thumb. The spiral turns into dozens of crisp layers.

    Store them uncovered and eat them the same day. Portuguese egg tarts are best within a few hours. To bring a day-old one back, reheat it for 3 minutes at 160°C.

    Don’t throw away the 3 egg whites. Freeze them in a small box for up to three months. Coming from the other direction, our spaghetti carbonara recipe also uses mostly yolks, and it relies on the same rule as step 4: keep eggs away from too much heat.

    A lady holds a portuguese egg tart

    Planning a whole Iberian dinner? Start with our seafood paella recipe from next door in Spain, and finish with these. Or pair them with something savoury from further east, like our Chinese eggplant recipe. Made a batch? Leave a comment and tell us how your spots turned out!
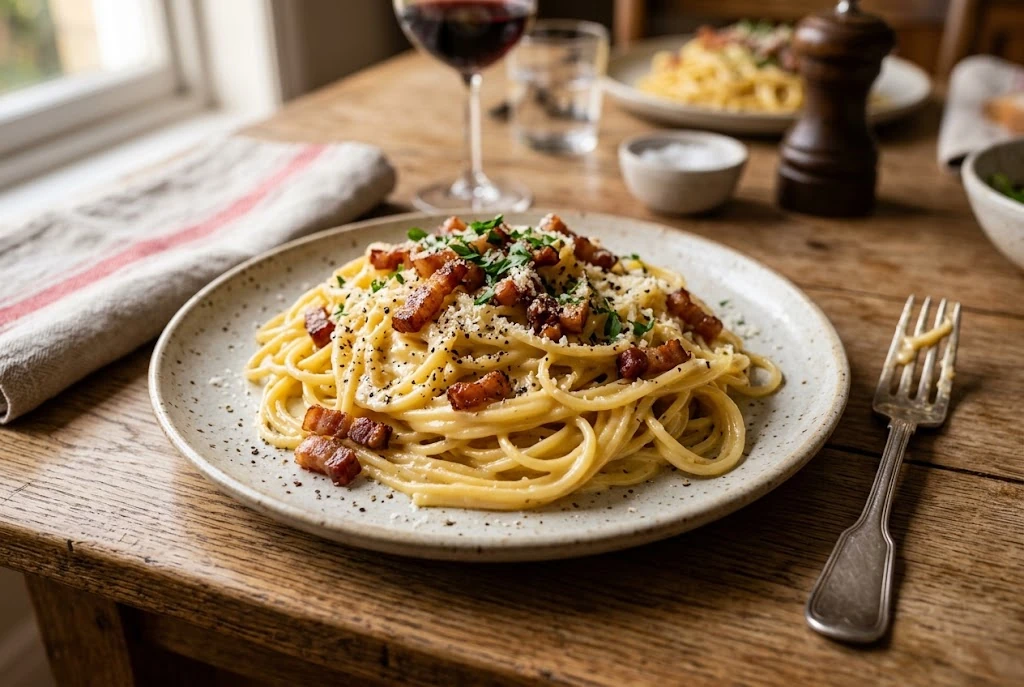
  • Spaghetti Carbonara Recipe in Five Ingredients and One Rule

    Carbonara has five ingredients and the internet argues about all of them. Guanciale or bacon. Pecorino or parmesan. Cream or no cream. Whole eggs or yolks. Read enough comment sections and you start to think you need a flight to Rome before you are allowed to cook it.

    You don’t. This spaghetti carbonara recipe uses what a normal supermarket sells, and tells you where the “proper” version really makes a difference and where it doesn’t. The one thing that genuinely matters is not an ingredient at all. It is getting the eggs off the heat at the right moment, and that part is explained step by step below.

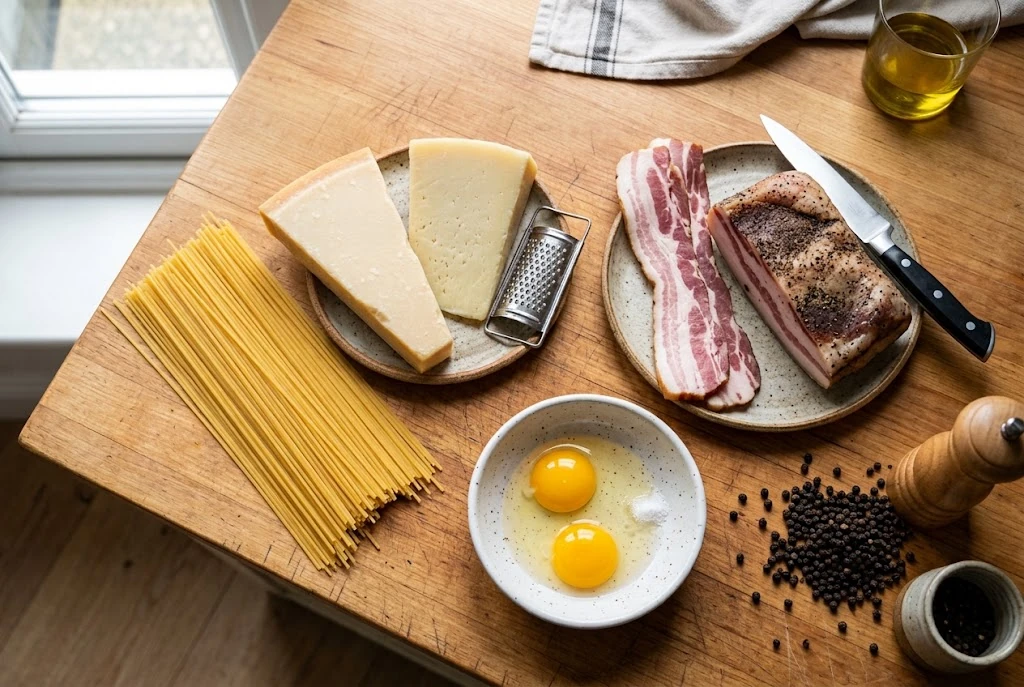
    carbonara_recipe

    Ingredients you really need

    • 200 g dried spaghetti
    • 100 g smoked bacon or pancetta, cut into 1 cm strips
    • 1 whole egg plus 2 egg yolks (about 100 g in total)
    • 50 g parmesan, finely grated, plus 10 g extra for serving
    • 2 g freshly ground black pepper (about 1 teaspoon)
    • 2 litres of water with 12 g of salt for the pasta

    No oil and no butter. The fat from the pork is enough.

    The salt for the pasta water is lower than most recipes use, because the pork and the cheese are both salty already. Taste the sauce at the end before you add any more.

    Ingredients that are nice to have

    • Guanciale, 100 g, instead of bacon. This is cured pork cheek and it is what Romans use. It has more fat than bacon and that fat has a sweeter, deeper flavor that ends up in the sauce. It is also not smoked, so the dish tastes cleaner. If your supermarket has it, buy it. If it doesn’t, bacon gets you most of the way there. You can read more about how guanciale is made if you are curious why it costs more.
    • Pecorino Romano, 50 g, instead of parmesan. Pecorino is made from sheep’s milk and is saltier and sharper. The traditional recipe uses it, and you will notice the difference if you eat the two side by side. On its own, a carbonara made with parmesan is still very good. Some people use 25 g of each, which is a sensible middle ground.
    • One extra egg yolk. It makes the sauce richer and more golden. Not necessary, but nice if you have one left over.

    What you really do not need: cream. This is not about being authentic. When the eggs and cheese are handled properly they turn into a sauce that is already creamy. Cream is usually added to hide eggs that have scrambled. Fix the technique and there is nothing to hide.

    carbonara_ingredients

    Tools you really need

    • A large pot. At least 3 litres, so the 2 litres of water and 200 g of pasta have room to move.
    • A frying pan big enough to toss the pasta in. A 28 cm pan is right for two portions. The pasta finishes in this pan, not in the pot.
    • A bowl and a fork for mixing the eggs and cheese.
    • A grater. The cheese needs to be fine, not in thick shreds, otherwise it clumps instead of melting into the sauce.

    Tools that are nice to have

    • A pasta fork. It lets you lift the spaghetti straight from the pot into the frying pan, with a little of the cooking water still clinging to it. That water helps the sauce come together. It is one of the tools on our list of underrated kitchen tools.
    • A fine rasp grater. It turns hard cheese into something close to powder, which melts almost instantly. A normal box grater on the finest side works too, it just takes longer.
    • A kitchen scale. Carbonara has so few ingredients that the ratios matter. 50 g of cheese to about 100 g of egg is what gives you a sauce instead of a paste or a soup.

    Not sure what tool you would use it repeatedly and what you would only use it for one time and put away? Check our 10 most underrated kitchen tools and see what tools are worth buying not just for only one recipe!

    How to make it

    1. Bring 2 litres of water to the boil in the large pot and add 12 g of salt.
    2. While it heats, mix the whole egg, the 2 yolks, the 50 g of grated cheese and 2 g of black pepper in a bowl with a fork. It should look like a thick yellow paste. Leave it next to the hob.
    3. Put the 100 g of bacon in the cold frying pan and turn the heat to medium. Cook it for about 6 to 8 minutes, until the fat has melted out and the edges are golden. Turn the heat off and leave the bacon and fat in the pan.
    4. Add the 200 g of spaghetti to the boiling water and cook it for 1 minute less than the packet says. Before draining, scoop out 150 ml of the cooking water and keep it.
    5. Move the spaghetti into the frying pan with the bacon, using a pasta fork or tongs. Add 50 ml of the cooking water and toss everything together for 30 seconds. The pan must be off the heat.
    6. Wait about 30 seconds so the pan cools slightly, then pour the egg mixture over the pasta. Toss and stir quickly for 1 to 2 minutes. Add more of the cooking water, 1 tablespoon (15 ml) at a time, until the sauce is glossy and coats every strand.
    7. Serve straight away with the 10 g of extra cheese and a little more pepper on top.
    carbonara_tossing_off_heat

    Why the pan has to be off the heat

    This is the step that decides everything. Egg starts to thicken at around 65°C and turns into scrambled egg a few degrees above that. A frying pan on a hob is far hotter than that.

    With the pan off the heat, the hot pasta and the warm fat cook the eggs just enough to thicken them into a sauce. The cooking water loosens it and the starch in the water helps it cling. If you leave the pan on the hob, you get pasta with bits of omelette in it.

    Wait 30 seconds after turning the heat off, then add the eggs. If you want to be sure, hold your hand over the pan. It should feel warm, not hot.

    Cooking Tips

    Start the pork in a cold pan. It is in step 3 and it is easy to skip. A cold pan lets the fat melt out slowly, which is where most of the flavour of this dish comes from. Drop bacon into an already hot pan and the outside seizes before the fat has a chance to render.

    Keep more pasta water than you think you need. 150 ml looks like far too much. You will use between 50 and 100 ml, and the day you only saved a splash is the day the sauce seizes up and there is nothing left to loosen it with.

    Warm the plates. Carbonara goes from silky to stiff in about a minute on a cold plate. Run two plates under the hot tap while the pasta cooks and dry them. It sounds fussy and it makes more difference than the choice between pecorino and parmesan.

    Take the eggs out of the fridge when you start. Cold eggs hitting hot pasta thicken unevenly, so you get a sauce with lumps in an otherwise smooth pan.

    If it starts to scramble, act immediately. The moment you see anything solid forming, throw in 2 tablespoons (30 ml) of pasta water and keep tossing. The water drops the temperature straight away and stops it going further. It will not be as smooth as it could have been, but it will still be a good plate of pasta.

    If the sauce is thick and clumpy, add 15 ml of pasta water and toss hard for 30 seconds. Clumps are almost always cheese that was grated too coarsely, and water plus movement will still melt most of it.

    If the sauce is runny, put the pan back on the lowest heat for 10 to 15 seconds while tossing, then take it off again. Short bursts only. Two of these are usually enough.

    If it is too salty, whisk one extra yolk with 15 ml of pasta water and stir it through. It dilutes the salt and makes the sauce richer at the same time. Next time cut the salt in the pasta water to 8 g.

    Interested in more recipes? Check our seafood paella recipe. Anything else you are interested in cooking? Leave your comments here!

  • 10 Most Underrated Kitchen Tools You’ll Wish You Bought Sooner

    Nobody walks around IKEA thinking about a spider skimmer. You buy plates, a pan, a knife block, and you go home happy. Six months later you are hunched over a pot of boiling water fishing for dumplings with a fork, and you say it out loud: how did I forget this.

    I have made every one of these mistakes. Now I will show you the most underrated kitchen tools that would totally change your cooking life with only little costs.

    1. Slotted Skimmer

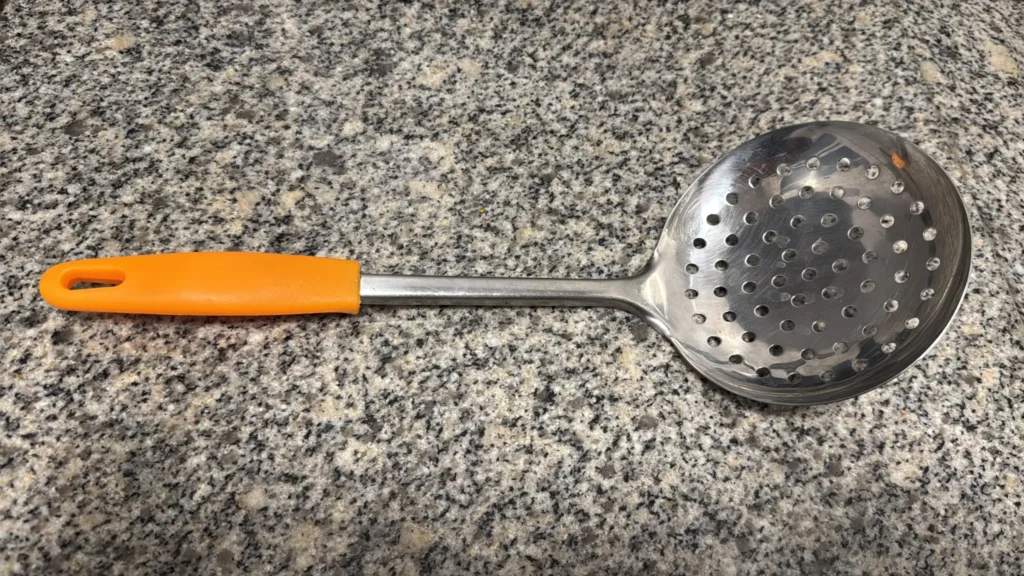
    Without one, getting anything out of boiling water means lifting the entire pot, carrying it across the kitchen, and tipping two litres of scalding water into a colander while steam goes up your sleeves. Then you want to cook a second batch and the water is gone.

    With one, the pot never moves. Dumplings out, eggs out, mussels out, water stays for the next round. I use mine more than any knife I own and I cannot believe I cooked without it for years.

    slotted_skimmer

    2. Pasta Fork

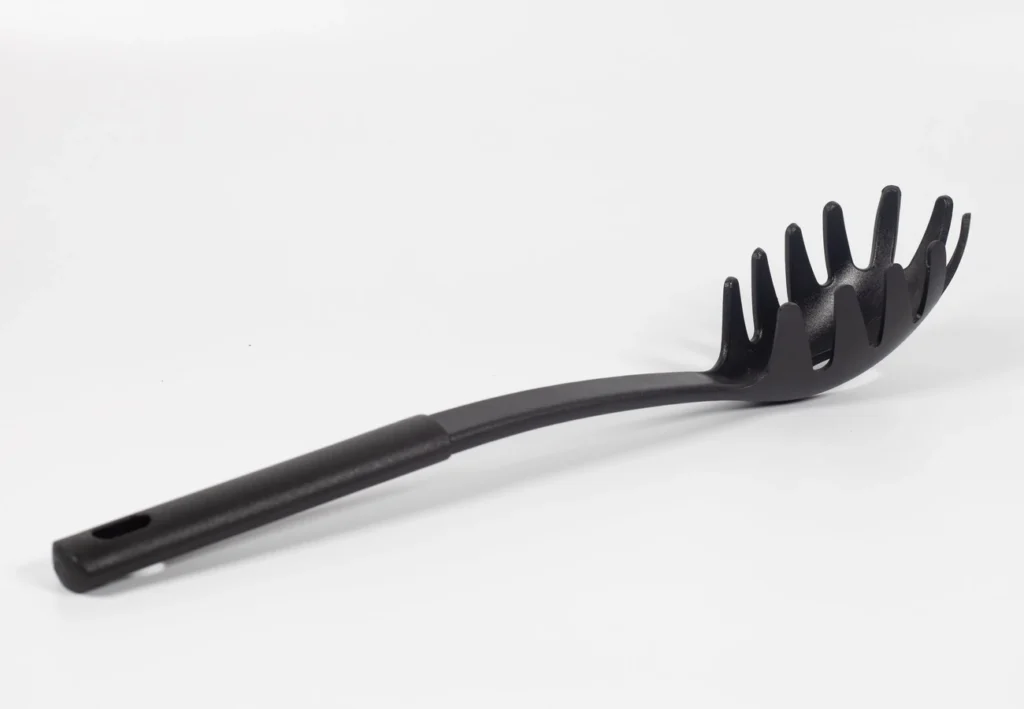
    The spoon with teeth around the rim. The teeth grab the strands, which is why a normal spoon comes up empty and a fork brings you four noodles at a time.

    And the hole in the middle is not a drain. Push dry spaghetti through it and that is one portion, roughly 80 to 100 g. I owned mine for three years before somebody told me that. It is also the easiest way to move pasta straight from the pot into the pan, which is exactly what you want in our spaghetti carbonara recipe.

    3. Meat Thermometer

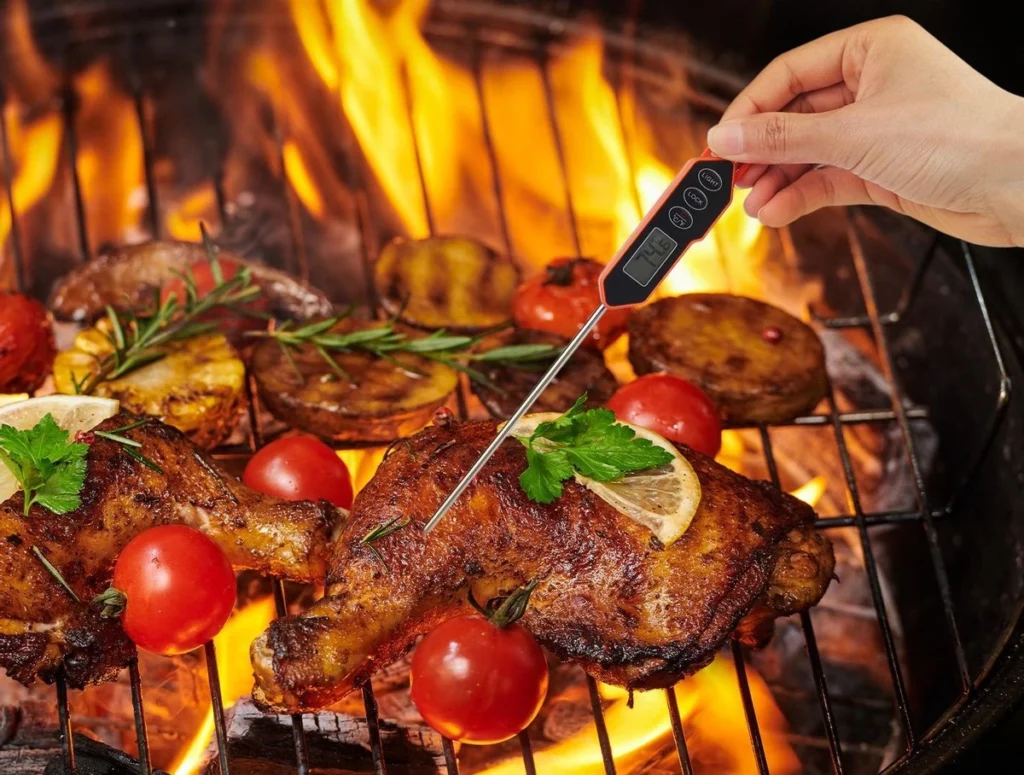
    This one is not only for your tongue, but also for your stomach. Undercooked chicken is genuinely dangerous and can carry various of germs or parasites. The way most people check is to cut it open and look, which tells you very little and drains all the juice out of it. So you either serve something you are quietly nervous about, or you cook it another ten minutes to be safe and eat dry chicken. But with an instant-read thermometer ends it in three seconds. Chicken is done at 74°C, which is the safe minimum temperature for all poultry. Pork at 63°C. Steak is 55°C for medium rare and 60°C for medium. Bread is around 93°C in the middle, which is how you know the loaf is actually baked and not just brown on top.

    One thing worth knowing: meat keeps cooking after it leaves the heat and climbs another three to five degrees while it rests. So pull it out just before the number, not after. Nobody tells you this and it is why perfectly timed chicken still comes out overdone.

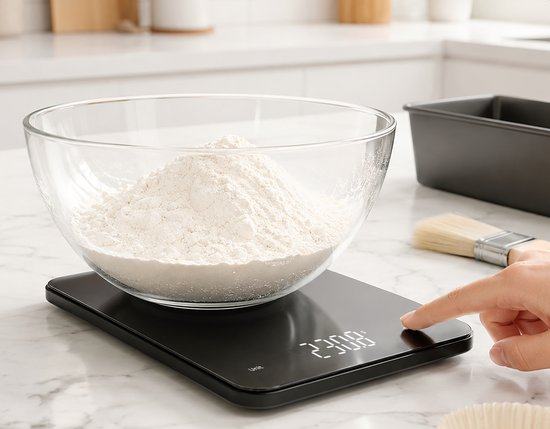
    4. Kitchen Scale

    Most people take the scale out for baking and then put it back in the drawer. Meanwhile the thing it helps most with is the thing you cook every week: rice. Rice to water is a ratio, and a ratio only works if both sides are measured the same way. A “cup” of rice and a “cup” of water are two different things once the rice settles. Weigh both and it comes out the same every single time.

    Same with pasta. 100 g per person, measured once, and you stop either running short or eating leftovers for two days.

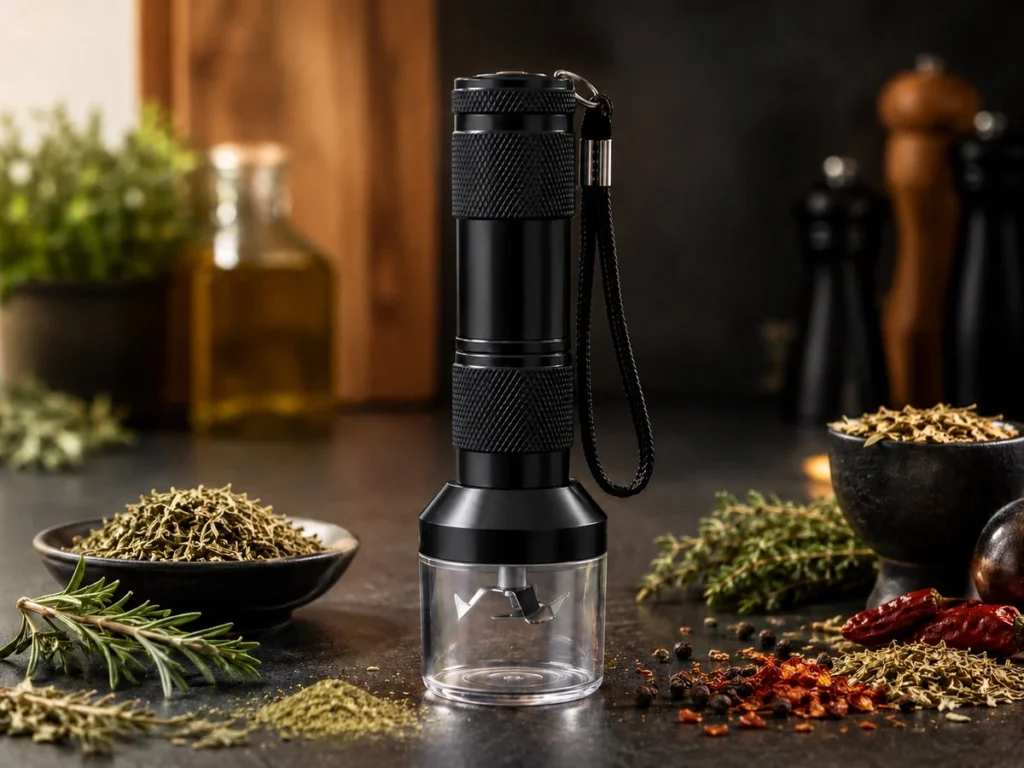
    5. Spice Grinder

    If you cook food from other countries, this changes more than anything else on the list.

    Ground cumin loses its smell within weeks. That jar at the back of your cupboard, the one you bought in 2023, tastes of dust and is quietly flattening every curry you make. You blame the recipe. It was never the recipe.

    Toast a tablespoon of whole cumin seeds (about 6 g) in a dry pan for a minute, grind them, and the smell fills the room. People will ask what you did differently. Twenty euros for a small electric grinder. A mortar and pestle does the same job by hand and grinds saffron far more evenly than your fingers, which is why we reach for one in our seafood paella recipe.

    spice_grindr

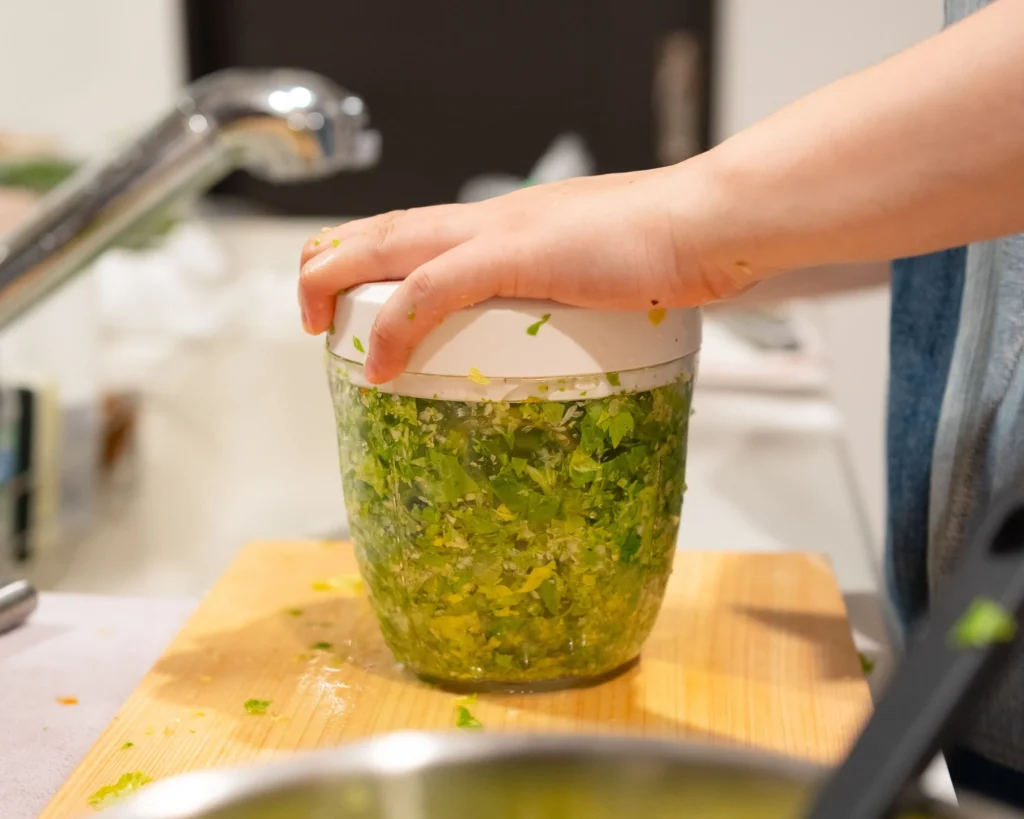
    6. Mini Food Processor

    The small one, not the big machine that lives in a cupboard because it takes ten minutes to wash.

    Curry paste, herb sauces, garlic, ginger, pesto, breadcrumbs. Chopping garlic by hand for a paste takes fifteen minutes and your hands smell for two days. This does it in twenty seconds and has three parts to rinse.

    Thirty euros, and if you cook anything from South or Southeast Asia it will be out on the counter every week.

    mini_food_processor

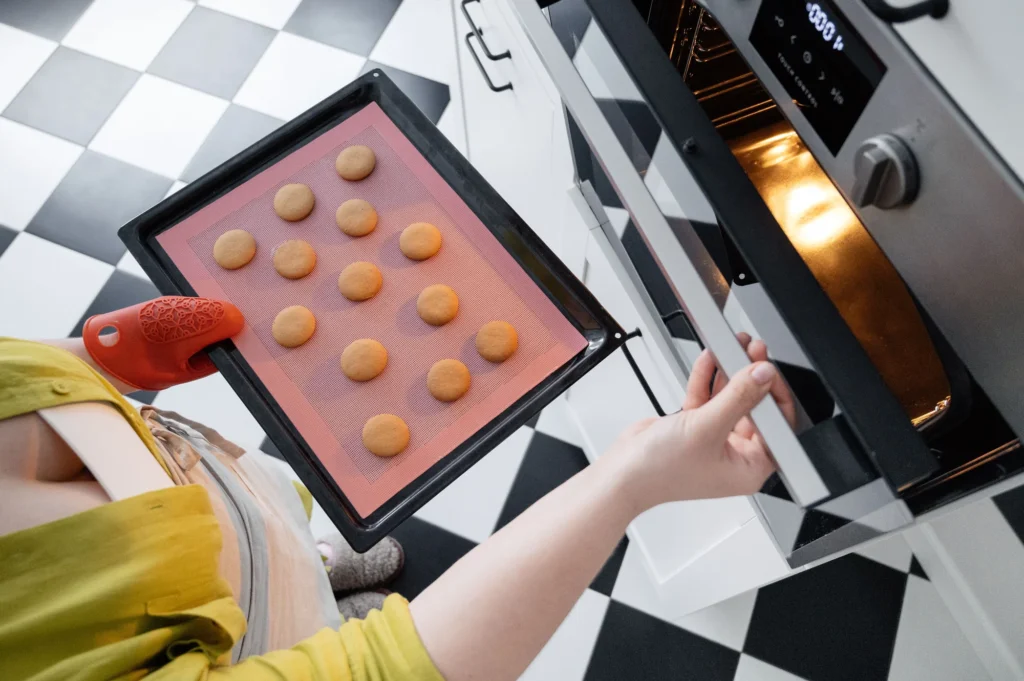
    7. Silicone Baking mat

    Baking paper is a thing you buy again and again, tear badly, and throw away. A silicone mat replaces all of it. Nothing sticks, nothing needs oiling, cookies come off clean, and it goes in the dishwasher.

    Quick note since people ask: food-grade silicone is stable at oven temperatures and does not leach into food. The way to spot a bad one is to twist a corner. If it goes white, it has cheap filler in it and you should not buy it. Proper silicone keeps its colour.

    sillicon_baking_mat

    8. Oil Spray Bottle

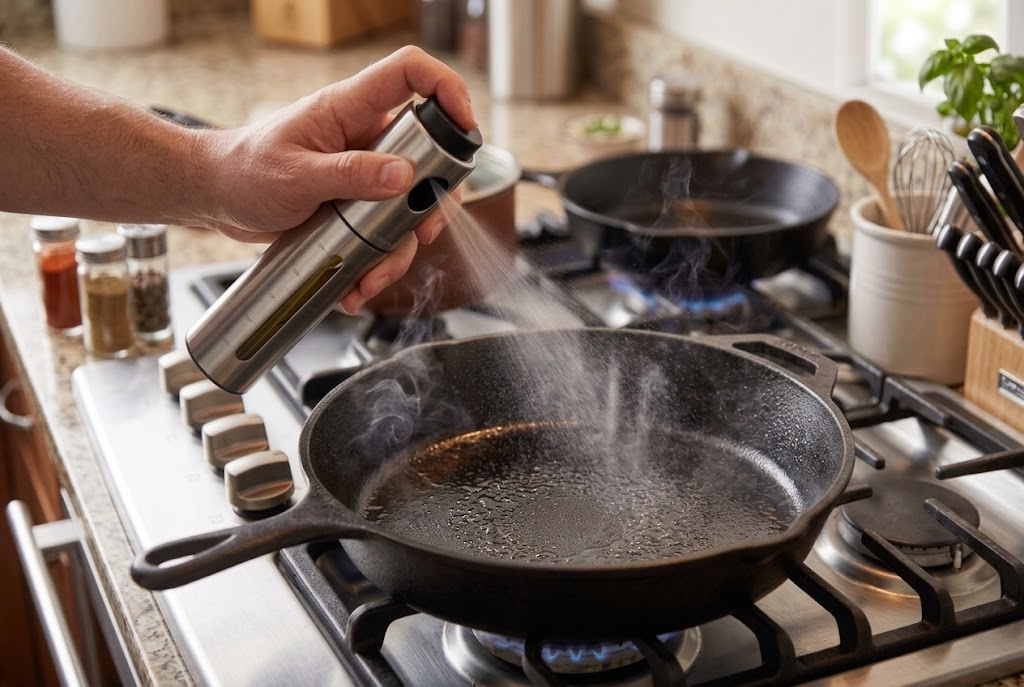
    A refillable one you fill yourself. Spraying puts a thin even layer on a pan, a tray or an air fryer basket, where pouring gives you a puddle in one corner and a bare patch everywhere else. You will use less oil without trying.

    Skip the aerosol cans from the supermarket. They contain propellants and emulsifiers that build up into a sticky film on non-stick pans, and once that layer is there it does not wash off.

    oil_spray_bottle

    9. Steamer Basket

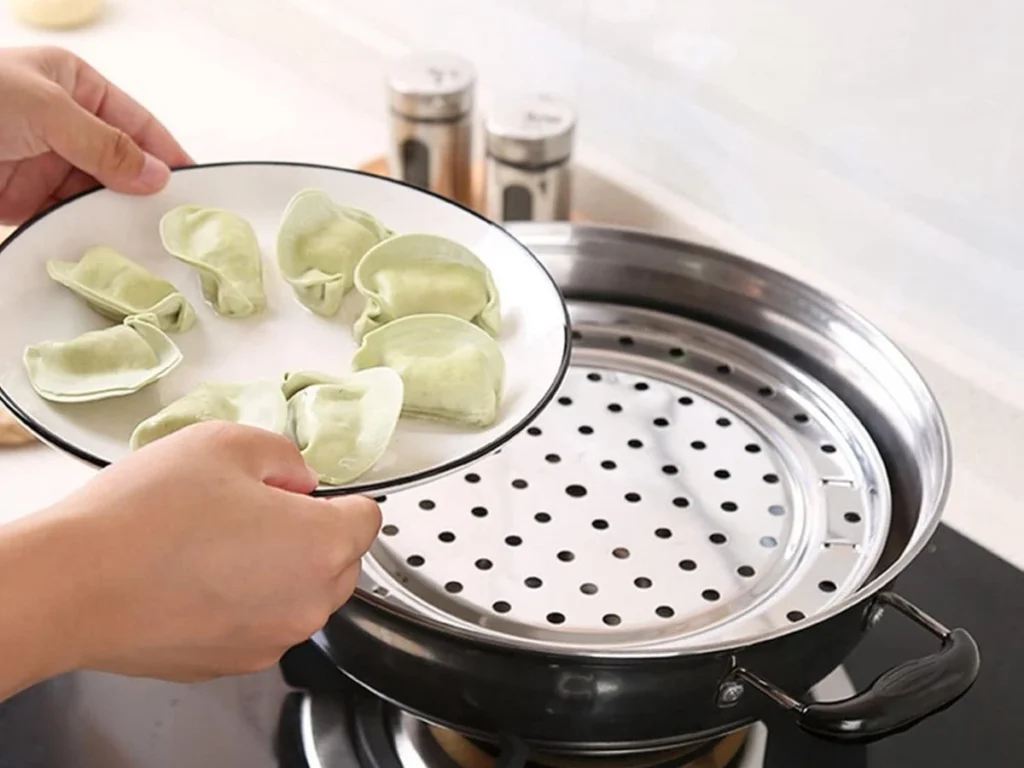
    The folding stainless steel kind that opens out like a flower and sits inside a pan you already own. Five euros, takes up no space, and almost nobody in Europe has one.

    Steaming is the most forgiving way to cook there is. Nothing sticks, nothing burns, you cannot overcook fish by two minutes the way you can in a pan. Whole fish, dumplings, broccoli that stays green instead of turning grey, leftover rice brought back to life in four minutes.

    If you want to cook anything Chinese, steaming is not optional, it is half the cuisine. And you do not need a bamboo basket or a dedicated steamer to start. A folding basket in a pot with 2 cm of water and a lid does the same job.

    steaming_rack

    10. Rice Cooker

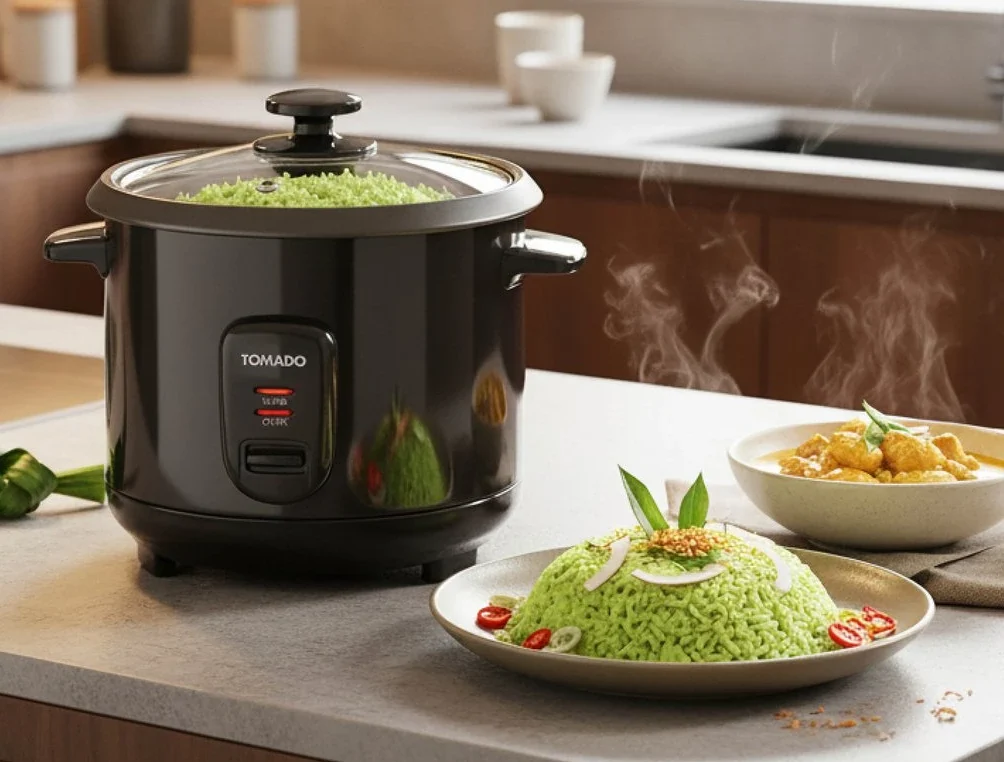
    As an Asian food lover, I would buy another the same day if it died. Everybody who has tried cooking rice in a pot would know that you have to check on the hob all the time holding a steady low simmer. Some days it is perfect, some days the bottom is welded on and the top is raw. A rice cooker removes the variable completely, then keeps the rice hot for three hours while the rest of dinner runs late. A basic 1 litre model cooks up to 450 g of rice, which is enough for four to five people.

    Most kitchens in Europe still do not have one. If you eat rice weekly, this is the cheapest upgrade to your cooking you will ever make.

    rice_cooker

    What tools do you find also useful but badly underrated in the kitchens, leave your experience in the comment.

    Also check our seafood paella recipe and spaghetti carbonara recipe for your weekend menu. Happy cooking!